Car is Prepped for a Wrap

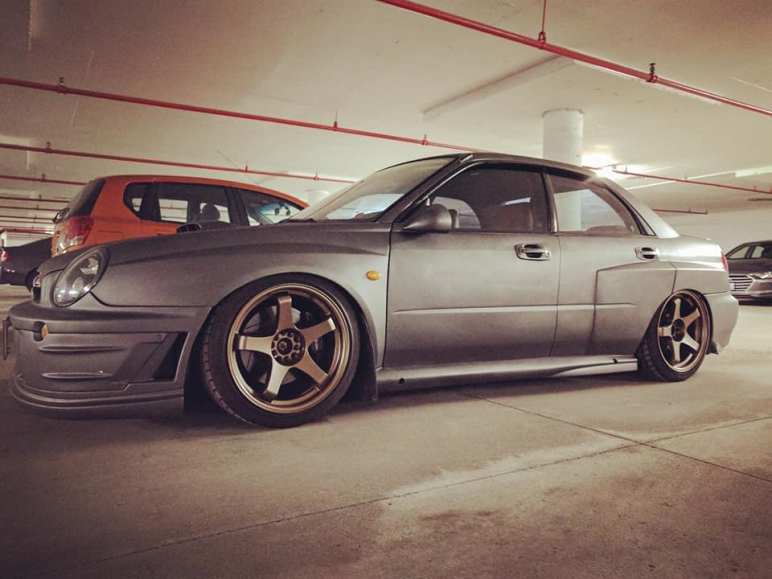
After a full week of disassembly and sanding, the WRX is now prepped for a wrap.  Why sand down the whole car you may ask?  Well about 6 years ago I painted the car with a textured paint.  Which was cool and unique, but left a finish on the car of about 80 grit sandpaper.

This created a great effect for the car and lots of people couldn’t believe it when they touched it, but it won’t work well for wrapping.  Essentially the car needed to get down to a smoothness for paint prep.  So now the entire machine has been sanded down to a smoothness with 320 grit final blocking.

Continue reading Car is Prepped for a Wrap

3M 1080 Satin Apple Green

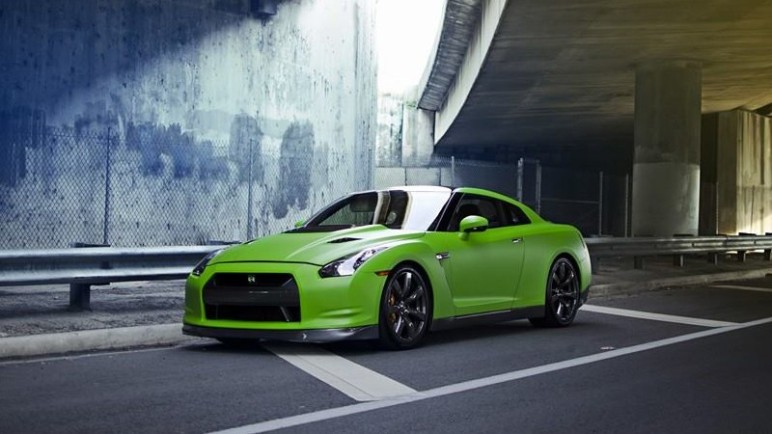
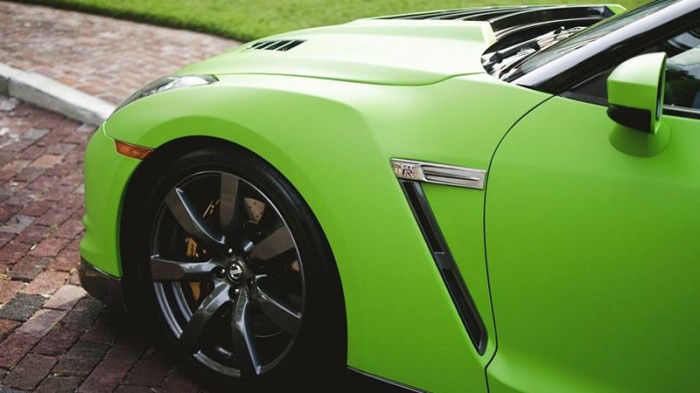
Well, I think I just might have found my new color. This is Satin Apple Green from the 3M 1080 series of wraps.  It’s always hard to tell what a color would look like on a car from a sample book.  So I found these picture that would help me see it on an actual car 🙂

983

How About Porsche Acid Green

My daughter and nephews were telling me that I shouldn’t make the car boring, and that I should do a crazy color.  I’m now also considering doing a really nice wrap on the car so that I can change up the color every few years 🙂

So here’s a photoshop of what the car would look like with Black wheels, tinted side markers, dry carbon: roof, mirrors, wing and a Porsche Acid Green wrap.  This is looking pretty damn sweet and it might just be the winner for the next few years!!

Dropped on Air

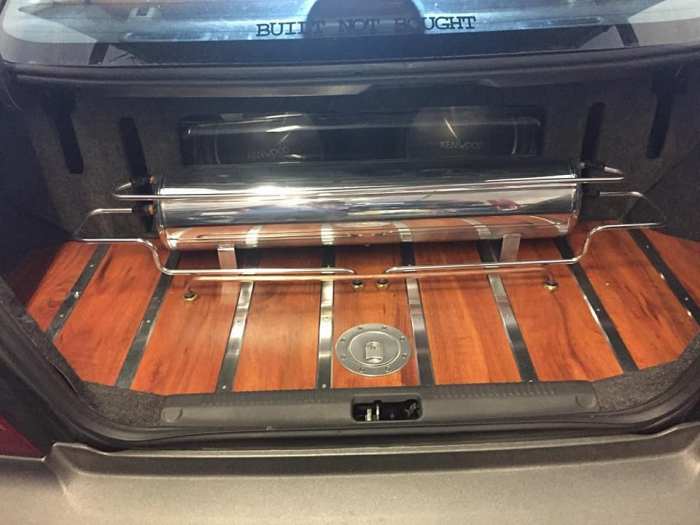
Well she’s now on air!! Installed the AirLift Performance 3P system.  The one copper line in the trunk still needs to be replaced with polished aluminum but we’re good to go. The car is currently having the holes/gaps in the engine bay welded up for a proper shave. No more engine bay covers 🙂

Color Change and Air Suspension

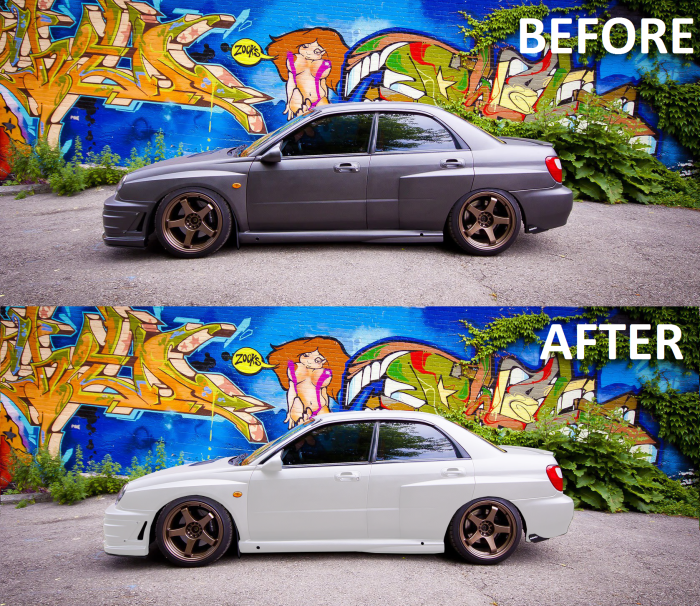
As I continue to improve the WRX I’m looking at doing a color change to a satin white which will still work with my interior colors and my current wheels.  Also on the plans for this year is adding some AirLift Performance 3P suspension. Giddy-up!

Above you’ll see an example photoshop of what I want the car to look like, and below is a before and after.  Also, with the color change that means I need to change up the side engine bay panels for the shaved and tucked bay.  I’m starting to explore my different options and have been looking into hydro-dipping for a nice carbon fiber pattern 🙂

compare

Mississauga Classic Car Club

bwzvdqfieaai2b9

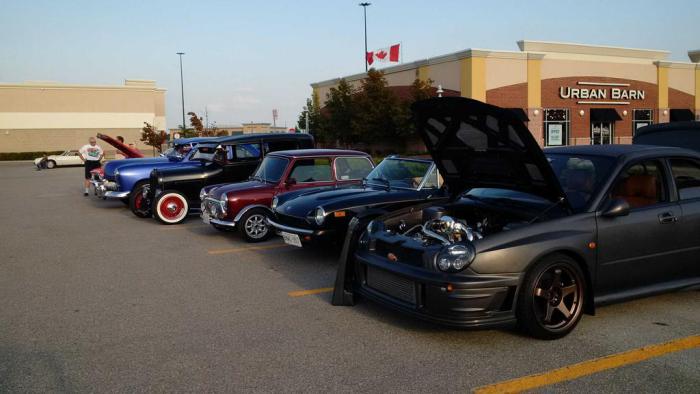
It was pretty fun last night heading out to the Friday night Mississauga Classic Car meet-up.  They meet every Friday night near East Side Mario’s close to the 401 and Winston Churchill exit.

Last night they had an import night so there were a few of us that showed up to represent the new muscle.  Lots of great cars and old school muscle at the meet.  I think I might have to make this more of a regular hang out next year 🙂

Toronto Subaru Club Hypermeet


BvQ8pyHIgAIbeEp

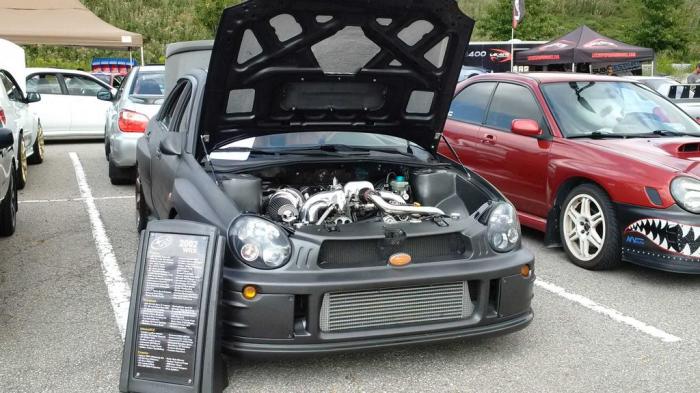
Yesterday was spent at the Toronto Subaru Club annual Hypermeet.  I remember when there were only about 20 of us at the original Subaru headquarters.  Now there are two massive industrial parking lots full of cars.  There had to be around 300 cars!

All proceeds go to the Ronald McDonald House charity and Subaru of Canada matches the amount made by the show.  In total the estimated donation was about $40,000 from the day.

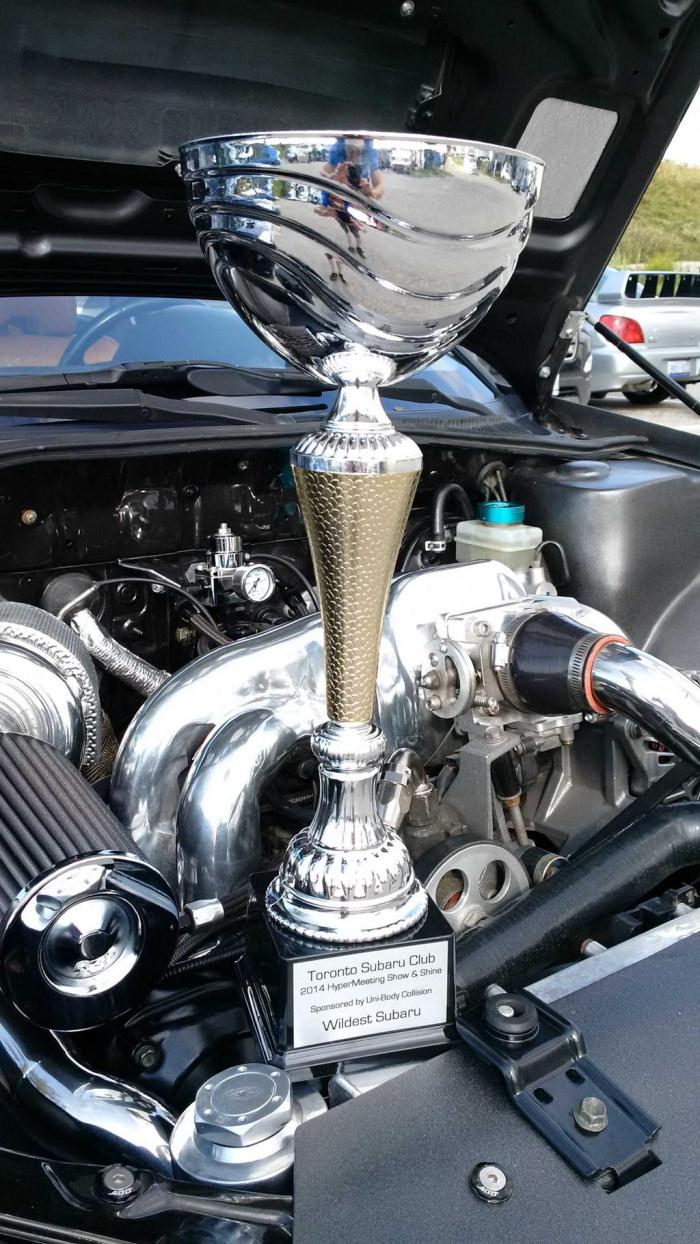
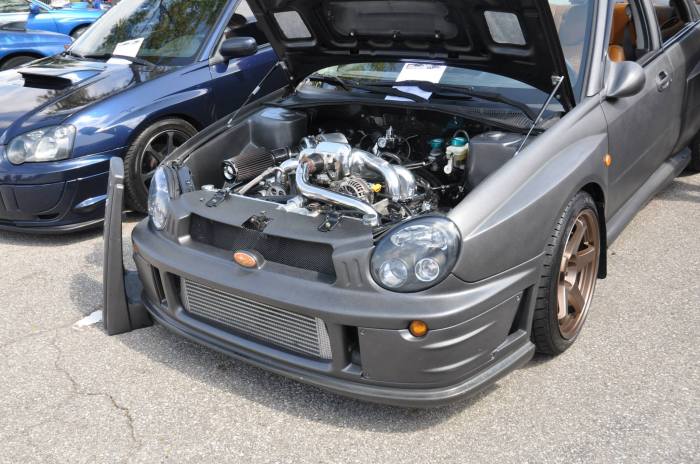
My WRX came away with the Wildest Subaru award 🙂

Here are a few shots of the car from the day.

BvRTmjwIgAE8WeH

14763967368_bf15f29b63_h


10535634_10152381161026225_6234968170527358783_o

Final Engine Bay Clean-up

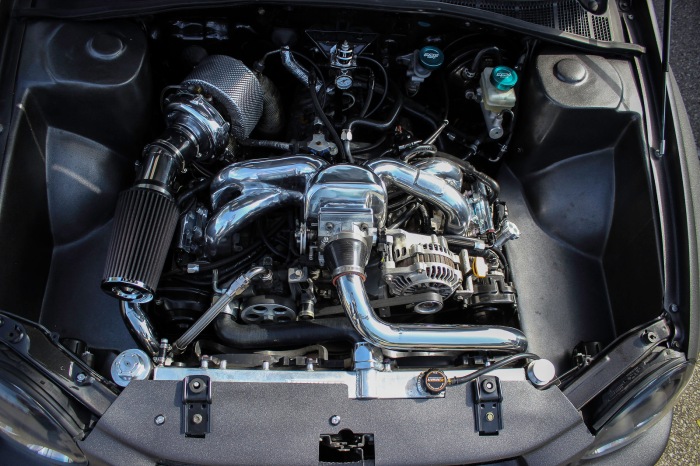
The car is now back from its COBB Access Port speed density tune and is running great.  I have both a nice idle when creeping in traffic at low RPM, as well as some super freaky fantastic pull at the top end.  The car ended up putting down 390 WHP on the dyno with 91 octane.  If you take the nasty average of a 13% AWD drivetrain loss it puts the car at pretty much 440 HP at the flywheel 🙂

Since I had the car back I wanted to get my new intake installed that has the MAF sensor at the bottom which is now used as the intake temperature sensor for the speed density tune.  I also picked up a new filter that fits the 3″ intake tube that also had a nice polished end.

With the new intake and the braided power steering lines, I wanted to fix up my existing engine bay panels to seal the hole that was used for the MAF wiring as well as create a section that would run the power steering lines underneath.  Both panels were in pretty rough shape so I reinforced them with some new fiberglass cloth, applied some body filler, sanded and repainted them.

Below you can see the finished product that I am very happy with 🙂

Here are some better shots of the nice fixed up flat panels:

Finished the Intake Pipe

After some nasty drilling I was able to finally finish off the intake pipe.  For some reason my drill bits didn’t want to cut into the stainless steel pipe. Grrrrr….  I was able to secure the machined aluminum piece to the bottom of the pipe using some tape so that the plug would point in towards the engine.  This allowed me to mark the large opening that the MAF sensor slides into and then drill it out with a small hole saw.

I then drilled and tapped the two bolt holes to ensure that I could properly secure it to the pipe. Once that was all finished I pulled it apart and used some gasket maker to seal the two together before fastening the bolts back in place.

Since this is the underside of the pipe you don’t really see it at all and will work great as the intake temperature sensor for my COBB speed density tune.  I also ordered a filter exactly the same size as the one seen in the picture below but with the proper 3″ inlet.  It should be here in the next day or so.

Now that I won’t be using the MAF for measuring air going into the system, I’ll no longer need to plumb the system’s air back into the intake.  So I’ve decided to create myself a little vented catch can.  I haven’t started yet, but I have an extra overflow reservoir just like the one I’m using for the radiator overflow.  I’ll chop it down to size and and weld it back together again to create the reservoir size that I’m looking for.

That will be my next adventure 🙂

Made Some Intake Progress

On the drive back from the bike park I had some ideas on the intake pipe based on some 3″ polished SS tube that I had laying around. I managed to cut it to get the intake pipe angle to be the exact same as the intercooler pipe coming from the turbo.

I took some pictures with the existing filter just sitting on the pipe. The existing filter neck opening is too big because it was used on my Big MAF before. So I need to pick up a 3″ filter that has pretty much the same shape.

I also need to create a spot for the MAF housing on the underside of the intake tube.  Even though I’m going with a COBB speed density tune I’ll bee using the MAF sensor for its intake temperature sensor.  But since it won’t be metering air I can tuck it underneath the pipe in an upside down position.  I still need to do some final hose and wiring clean-up to get it looking the way I want, but it’s getting closer.

I found a machined aluminum MAF housing piece from the intercooler kit that I’ll be attaching to the stainless pipe.  Hopefully I’ll have that work completed tomorrow.  I also need to pull out my engine side covers to spruce them up a bit.  I’ll also be filling in the MAF sensor wiring hole that you can see on the passenger panel and instead run the wire up beside the engine to its new location on the intake pipe.  I’m also going to create a little section near the power steering tank so that I can run the power steering lines underneath the cover.

That should smooth out the whole passenger side to look like the drivers side without any holes or hoses.  Some fresh paint and fiberglass repair will have them looking like new 🙂